How To Clean A Stainless Steel Sink
Table of Contents
Reputation Of Stainless Steel Sinks
Many homeowners choose stainless steel sinks. They’re sparkling and bright, and they stand out from the competition. Steel, mainly stainless steel, has a good reputation for long-term use. Sinks made of stainless steel will not corrode, rust, or discolour over time.
On the other hand, these sinks may be a pain to keep clean and are pretty obvious when they are dirty. Look no further if you’ve been wondering how to get your stainless steel sink back to its former gleaming self. With these simple instructions on cleaning stainless steel, your sink will look new again in no time.
Cleaning A Stainless Steel Sink
Starting with how often you should clean your stainless steel sink, here are a few pointers. If you clean your stainless steel sink more than a few times a year before having visitors over, you’ll find it much simpler to keep it clean. The regularity of thoroughly cleaning your sink should be reduced if you’ve been washing it after each usage.
However, this number should not be seen as another all directive. If your sink is filthy, has food clinging to it, or seems dull, it’s time to do a deep clean. Do you have any questions about deep cleaning? The following steps will help with the process.
Keeping A Stainless Steel Sink Clean

If your sink looks dirty, it’s because of food stains, corrosion, soap residue, or coffee grounds. Whatever the source of the problem, this guide should help you clear it up.
Is your kitchen sink going to see some entertainment tonight? If you follow the instructions below, your sink will appear brand new in no time! The show must go on.
Step One: Start by rinsing the sink
Rinse your sink well to remove any food pieces, grains, or other debris before you begin. Next, fill your sink halfway with hot water and run the faucets until the water runs clear. It is possible to check for clogging by running the in-sink dispenser many times.
Step Two: Apply a finish to the sink
To begin cleaning a stainless steel sink, apply a thin layer of baking soda to the surface. Use a wet sink to make the baking soda cling better. That way, the sink’s corners and bottom will be covered with bicarb.
Step Three: Scrub in a clockwise motion
Start cleaning the stainless steel after layering on the baking soda. There are a few crucial points to be aware of in this section.
-
Never use a harsh or abrasive scrubber
Steel wool may corrode your sink and ruin your bathroom renovation plans. This is true even if you’re using a rough kitchen sponge soap or microfiber cloth. A toothbrush works well for cleaning the area surrounding the drain and the nooks and crannies.
-
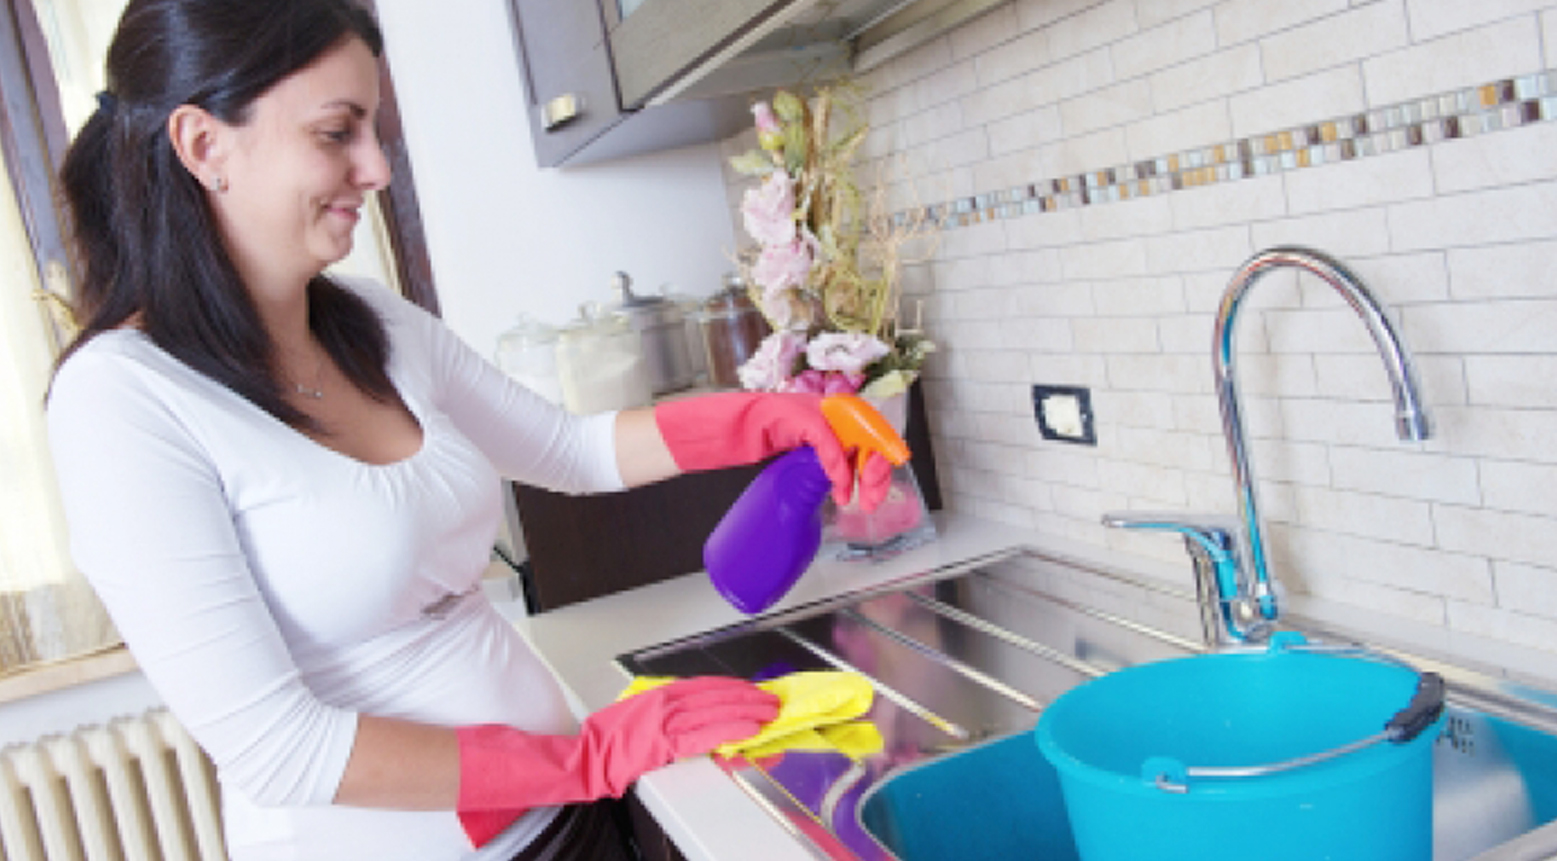
Put on a pair of rubber gloves
Baking soda has a drying and irritating effect on the skin. When cleaning, it’s a good idea to wear gloves in general.
-
Follow the grain while scrubbing
If your sink is made of brushed steel, scrub in the direction of the thin steel lines. This will make your sink last longer and help you clean it better.
Step Four: Use white vinegar
After you’ve scraped the baking soda into the sink with a stiff brush, it’s time to add the white vinegar and watch the magic unfold. To remove hard water spots from a stainless steel sink, use white vinegar and baking soda until the solution starts to bubble.
Vinegar is a widely used cleaning solution because of its high acidity, which effectively removes stains, oil, and dirt without leaving behind any residue.
Step Five: Clean the sink and faucets
Set aside for at least five minutes after adding the white vinegar and baking soda. The sink may be rinsed again as soon as the bubbles have died down.
If your sink is still filthy or the baking soda/vinegar solution has become brown, repeat steps two through five until it’s spotless. This method for spot targeting is perfect if you’re dealing with a single tiny obstinate stain.
Step Six: Clear moisture from the sink
To dry your sink after rinsing it, take a towel and wipe it. To prevent water stains, make sure you dry your sink entirely after washing it.
Step Seven: Deal with remaining dirt and stains
By now, you should be able to see any remaining stains or dirt on your sink, mainly if you used dish soap. There is no need to be alarmed if you see a few blemishes. To get rid of particular stains, follow the steps below.
One cup of vinegar and one-fourth of a cup of cream of tartar is mixed. This mixture is effective in cleaning tricky to reach places. Use a soft towel to massage the mixture into the sink for five minutes before rinsing it all off.
While this combo works well, please don’t start with it and use it over the whole sink. First, apply the baking soda on the parts that are still discoloured, then go on to the vinegar and water.
Step Eight: Make a clean wipe of the sink
Finally, rub the sink with a towel and a few drops of olive oil to make it shine. As a bonus, this will prevent your sink from rust and keep it looking new for longer.
Note that just a tiny amount of olive oil should be used in this recipe. A greasy sink is a result of using too much oil. Adding too much oil may be remedied by wiping part of it away with a clean cloth.
While olive oil may enhance the appearance of stainless steel, it should only be used to buff the sink, not for cooking with. By wiping off the faucet and handles, you will leave an oily film on your hands, making it difficult to wash them or obtain a drink of water.
Using Natural Cleaners At Home
Many people use homemade cleaning solutions to keep their stainless steel sink sparkling. You must, however, use extreme caution to prevent damage to the finish. As a result, you mustn’t let any of the following combinations seep into your sink. Before using it on your whole sink, make sure it works on a tiny section of it first to ensure it doesn’t damage your sink’s finish.
Vinegar kills weeds and removes tough stains and grease buildup from sinks. To make it work, you’ll need to combine 1/2 cup white vinegar with 1/2 cup water. Rub the dirt or stain with a soft cloth dipped in the solution. To avoid harming your sink’s finish, be sure to rinse and dry the sink after using this product thoroughly.
Another natural stain remover is a thick paste of baking soda and water, which may be produced at home. Scrub the stains with an old toothbrush to remove them slowly and carefully. To avoid permanent damage, immediately rinse and dry the sink after you’re done.
Don’ts Of Stainless Steel Maintenance

- A steel wool pad can scratch your stainless steel sink, so never use one on it. Corrosion or rust may occur as a result of the iron particles they leave behind.
- Rinse the sink often to avoid dulling the shine of your steel due to the chlorides in your cleansers.
- If you have stains that are difficult to clean, consider using a ScotchBrite tape scouring pad. To make it disappear, go in the opposite direction of the grain.
- Cast iron and steel cookware should never be left alone in your stainless steel sink for extended periods. Surface rust and staining are both caused by iron and moisture on stainless steel. As a result of the fact that these items retain water, they may rapidly and quickly lead to stains and discolouration in your sink.
- Don’t use the sink as a cutting board, just as you wouldn’t use a cutting board to clean your dishes. Cooking using sharp kitchen tools, such as knives, may scratch the surface of your sink.
Maintaining Your Stainless Steel Sink
- Regularly drying your sink can keep it free of rust and water stains.
- When using sink cleansers, protect your hands by using rubber gloves.
- Every time you use your sink, give it a short, light clean to keep it looking good. Before it dries, clean out the sink of any waste residue, and don’t let liquids sit too long.
- Never combine cleaning agents since some can react and release toxic fumes.
- Never use solvents without sufficient ventilation in a closed area.
- The market is flooded with compound and blended cleansers. Be sure to check with your suppliers and see whether they recommend using them on stainless steel before you put them to use.
Regular Cleaning Of Your Sinks
For both cosmetic and corrosion-resistance reasons, you should clean your stainless steel sink regularly. It would be best if you made it a practice to clean your sink regularly to keep it looking good and to prevent damage to the finish. Cleaning stainless steel sinks may be done in various ways, such as the ones described above.
Stainless steel sinks can’t be damaged by over-cleaning as other types of sinks may. However, if you have been lazy over the years or simply don’t have the time, you can always contact a professional to assist you in cleaning your stainless steel sink. These professionals are trained and licensed to provide the best services in all aspects of sink cleaning, regardless of whether it is the bathroom sink or outside sink.


